Have you ever wondered how to migrate your WordPress site without causing downtime? Imagine the chaos: a live website that goes down in the middle of migration, risking lost traffic, lost revenue, and even harm to your SEO rankings. The prospect of downtime during a site migration can be a terrifying thought for any business owner, but it doesn’t have to be.
Here’s the good news: Migrating your WordPress website without downtime is not only possible, it’s entirely achievable with the right steps. In this article, we’ll take you through a comprehensive WordPress migration checklist, showing you exactly how to make the move as smooth as possible. By the end of this post, you’ll have the knowledge to transfer your site efficiently while minimizing risk and ensuring your online presence stays intact.
Main Content:
1. Why Should You Migrate Your WordPress Site?
Before diving into the how-to, let’s briefly explore why businesses choose to migrate their WordPress site in the first place.
WordPress migration is often necessary due to:
- Changing hosting providers: Whether it’s to upgrade for better speed or move to a specialized WordPress hosting service.
- Improved website performance: If your current host is not providing the resources needed for optimal site speed.
- Scaling your business: As your traffic grows, you may need more storage or better security features.
- Budget management: Moving from a more expensive hosting provider to a more cost-effective solution.
Whatever your reason, it’s essential to approach the migration process with care to ensure a smooth transition and minimal disruption to your website’s functionality.
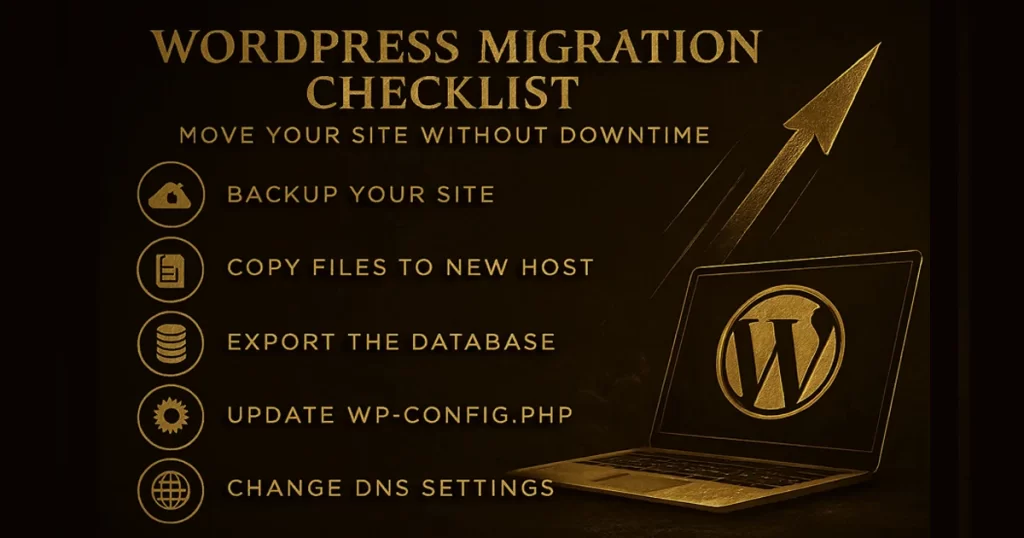
2. How to Back Up Your WordPress Site Before Migration?
The first and most crucial step in the migration process is ensuring you back up your entire website, including all your files, themes, plugins, and database. This guarantees that, in case anything goes wrong, you’ll have a safe copy of your website.
How to Do It:
- Manual Backup: Using a file manager (like cPanel), download all files from your current WordPress directory. Don’t forget to export your database using phpMyAdmin or a similar tool.
- Using Backup Plugins: Plugins like UpdraftPlus or All-in-One WP Migration allow you to easily back up your WordPress site and download a copy to your local computer or cloud storage.
Pro Tip: Always store your backups in more than one location (e.g., local storage and cloud). It’s better to have multiple copies than risk losing everything.
3. How to Choose the Right Hosting Provider for Your New Site?
The hosting provider you select will have a significant impact on your site’s speed, security, and reliability. So, when migrating, it’s important to choose the right host.
What to Look For:
- WordPress Optimization: Choose a hosting provider that specializes in WordPress for better performance. Providers like WP Engine or SiteGround offer excellent WordPress-specific hosting.
- Performance & Uptime: Ensure your new host has a track record of reliable uptime (99.9% or better) and high-speed performance.
- Support: Opt for a host with 24/7 customer support, especially if you encounter issues during migration.
Real-World Example: A fast-growing online retailer switched to Kinsta’s managed WordPress hosting and saw a 40% reduction in page load time, providing a much better user experience for their customers.
4. How to Move Your WordPress Files to the New Host?
Now that you’ve backed up your website and selected a new hosting provider, the next step is to transfer your website files to the new server.
How to Do It:
- Upload Files Using FTP: You can use an FTP client like FileZilla to upload the WordPress files to your new hosting account. Make sure to place them in the correct directory (usually public_html or www).
- Using a Migration Plugin: Some plugins, like Duplicator or All-in-One WP Migration, simplify the migration process by transferring all your files, themes, plugins, and database.
Pro Tip: Avoid uploading large files during peak traffic hours to prevent any server slowdowns.
5. How to Migrate Your WordPress Database?
The database contains all your website’s crucial content, including posts, pages, and user data. Migrating the database correctly is essential to ensuring your site operates smoothly post-migration.
How to Do It:
- Exporting the Database: Using phpMyAdmin, export the entire WordPress database as an SQL file. You’ll need this to import into your new server.
- Importing to New Host: Access phpMyAdmin on the new host and import the SQL file you exported. Ensure that the new database name and user credentials match the old one.
Expert Insight: Sometimes the database import process may fail due to size limitations or configuration differences. If this happens, ask your host to temporarily increase your PHP limits or use a plugin like WP Migrate DB for a smoother transition.
6. How to Update DNS Settings for Smooth Transition?
Once your files and database are moved, it’s time to update the DNS settings so visitors are redirected to the new server.
How to Do It:
- Update Nameservers: Log in to your domain registrar (like GoDaddy or Namecheap) and update the nameservers to point to the new host. This step ensures that visitors to your website are routed to the new server.
- DNS Propagation: DNS changes can take anywhere from a few hours to 48 hours to fully propagate worldwide. During this period, your site may experience intermittent downtime.
Pro Tip: To avoid any potential downtime during the DNS transition, you can keep your old hosting account active for a few days while the DNS propagates.
7. How to Test Your Site After Migration?
Testing is crucial to ensure everything is working perfectly after the migration. Here’s a checklist to follow:
What to Check:
- Site Speed: Use tools like GTmetrix or Pingdom to test the loading speed of your site.
- Functionality: Check that all pages, forms, and links are working correctly. Test all essential functionalities, like the checkout process (if you’re running an e-commerce store).
- SEO: Ensure that permalinks and SEO settings are intact. A tool like Screaming Frog can help you spot any broken links or SEO issues.
- Security: Run a security check to ensure your site is safe from potential threats. Plugins like Wordfence can help with this.
Real-World Example: After migrating a WordPress-based blog, a publisher found that some of their internal links were broken. Using Screaming Frog, they identified and fixed these links within hours, preventing any SEO damage.
Conclusion:
Migrating a WordPress website can be daunting, but with the right strategy, tools, and checklist, you can move your site without causing downtime or losing important data. By carefully backing up your site, selecting the right hosting, and testing your site post-migration, you ensure that the process is smooth and your site remains functional and fast.
If you’re planning a migration, follow this WordPress migration checklist and make the move with confidence. Ready to get started? Start by backing up your site today—it’s the first crucial step in the process.
For more detailed migration tips, check out our in-depth guide to WordPress site optimization.
FAQ Section:
- How long does it take to migrate a WordPress site?
The time it takes to migrate a WordPress site depends on its size. A small website can be moved in an hour, while larger sites might take several hours. - Do I need to migrate my emails when moving hosts?
No, your WordPress site and email accounts are typically hosted separately. However, you should ensure that your email service provider is correctly set up after migration. - What happens if my website goes down during migration?
If your website goes down, visitors will not be able to access it. To prevent this, consider staging your site migration and updating DNS settings at off-peak hours. - Can I migrate my WordPress site without a plugin?
Yes, but it requires more technical know-how. You’ll need to manually move files and databases via FTP and phpMyAdmin. - Will my SEO rankings be affected during migration?
If done properly, your SEO rankings shouldn’t be impacted. However, check your permalinks, redirects, and links to avoid broken URLs. - How can I avoid downtime during DNS propagation?
By keeping your old hosting account active until the DNS changes fully propagate, you can avoid downtime. Ensure both servers are running concurrently for a seamless transition. - Do I need to change my domain name during migration?
No, unless you plan to change your website’s domain. If you keep the same domain, you won’t need to make additional changes aside from updating the DNS.